That Time I Started a Basement Renovation on a Whim: Part I – Tackling the Stairwell
A classic 2020 trope, all that time trapped inside 1200 square feet – a family of three, then four, with an ever increasing toy collection, resentfully scooting past bulky plastic baby gadgets, and one resident attempting to “go to work” full time in the upstairs attic, which depending on the season, boasted sweat-lodge/arctic conditions – had us bleary eyed and craving space. Naturally, I lowered my gaze to the already partially finished basement. I’ve been documenting the sloooow progress over on my Instagram Stories, but realized it was probably time to legitimize it in writing here.
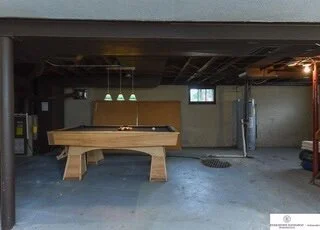
Above are the listing images. Like a novice i completely forgot to take any stills of the space before I began working on it. I did however take plenty of video you can view here. Or simply just enjoy this ultra grainy screenshot.
When we bought the house half of the basement had a finished ceiling and dry walled walls. Neither side had a finished floor. The listing photos notably did not show the partially finished room from the other direction and here’s why:
The concrete on this side was in, ahem, rough shape.
But we’ll save that saga for Part II.
Knowing we were literally sitting on an additional unused 300 square feet had me dreaming about turning it into a playroom. An out of the walkway place to shove all the baby gear, Melissa & Doug, and DUPLOS - I was delirious at the thought! This was way back in November of last year and I procrastinated (or rather played primary caregiver) for the next 5 months because where to even begin felt so daunting.
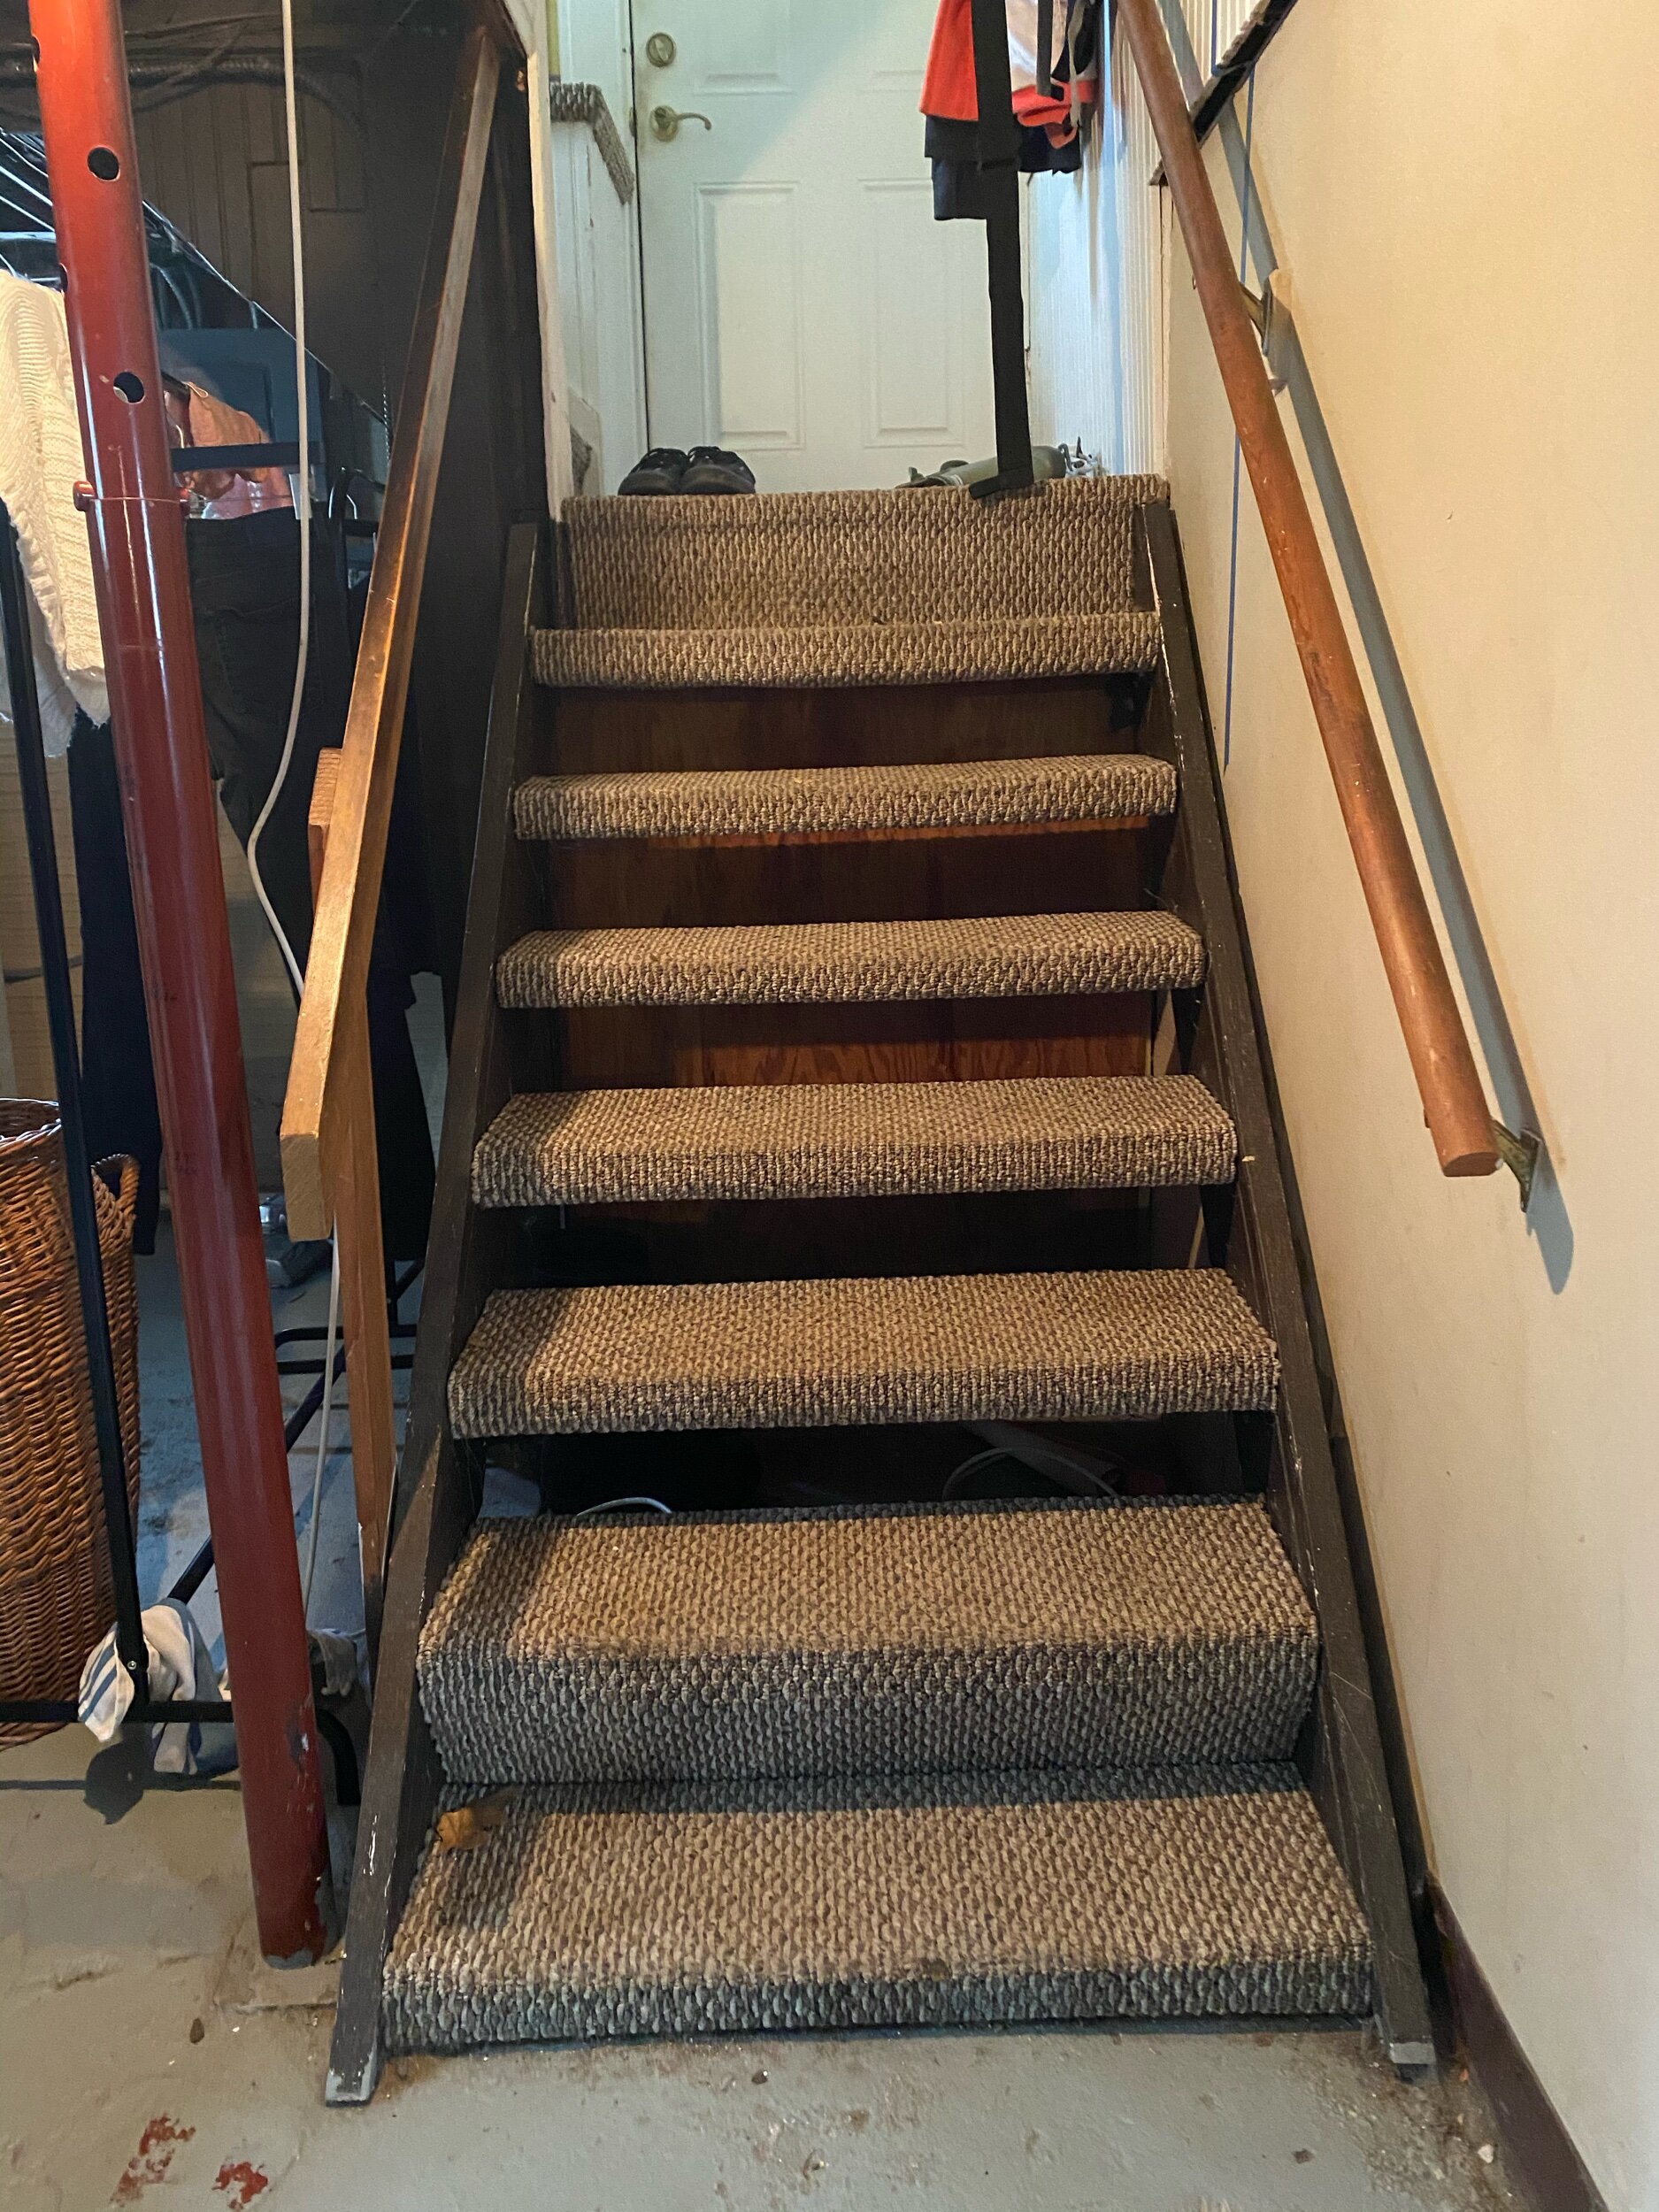
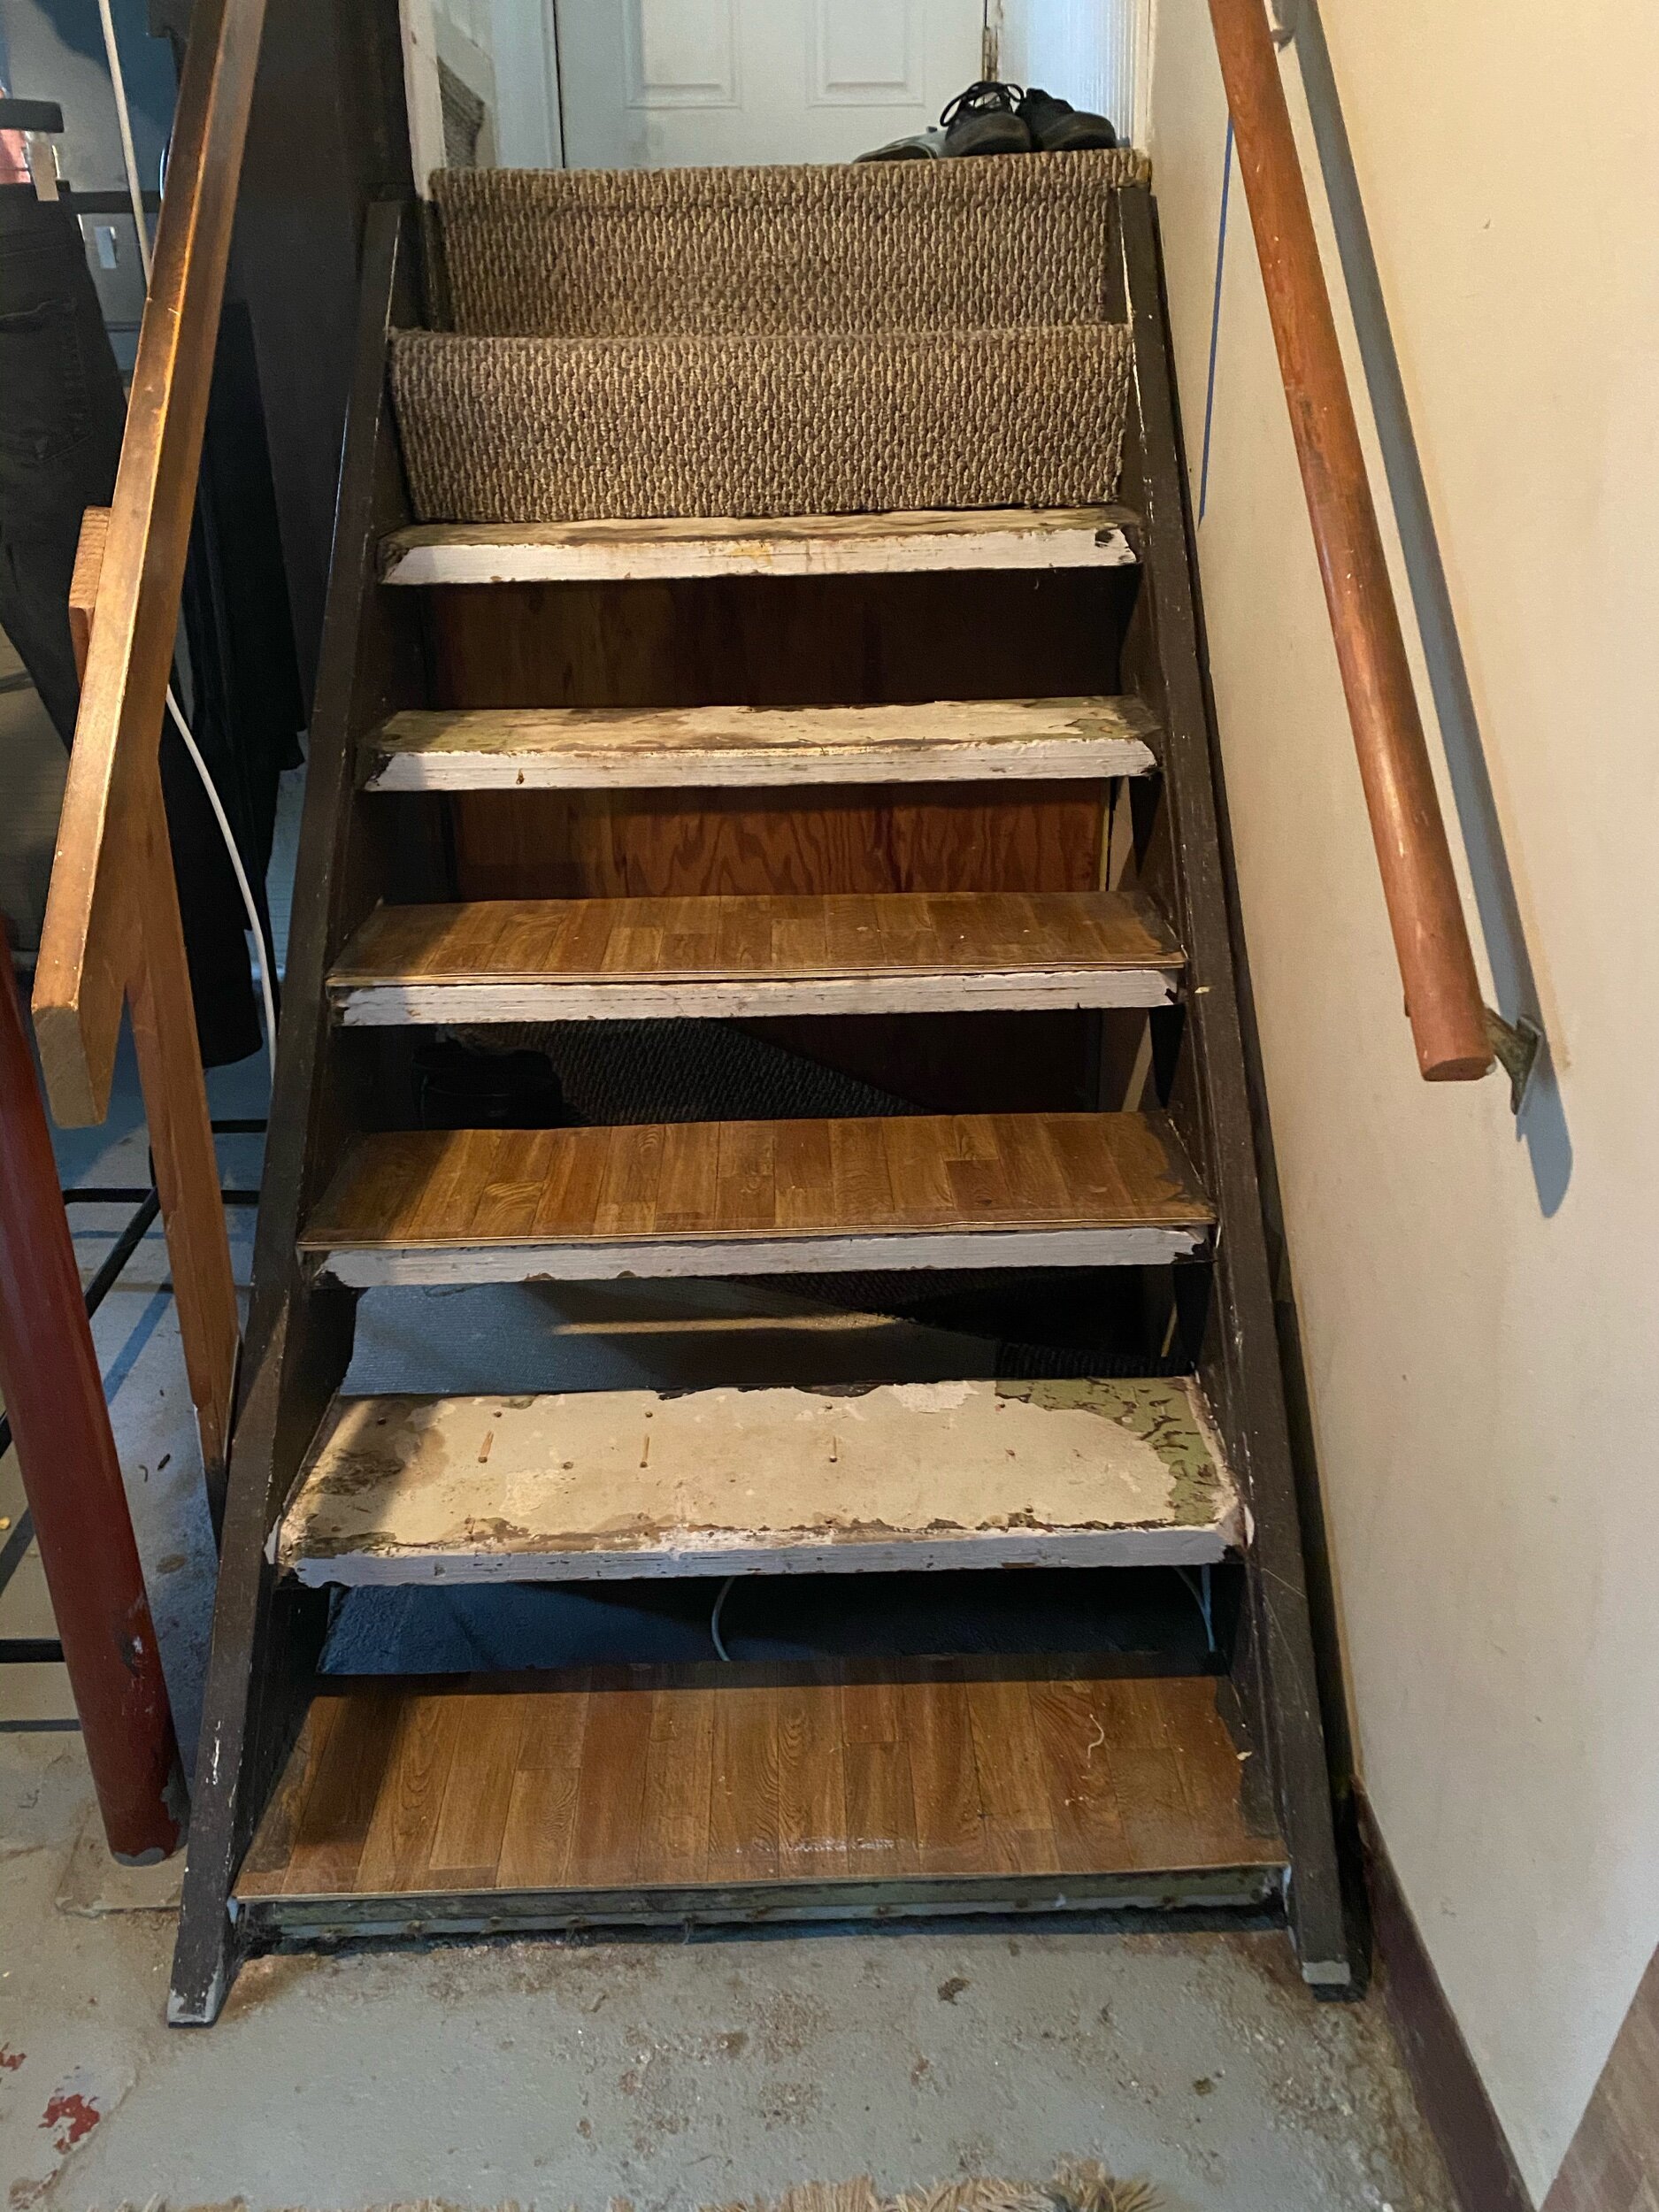
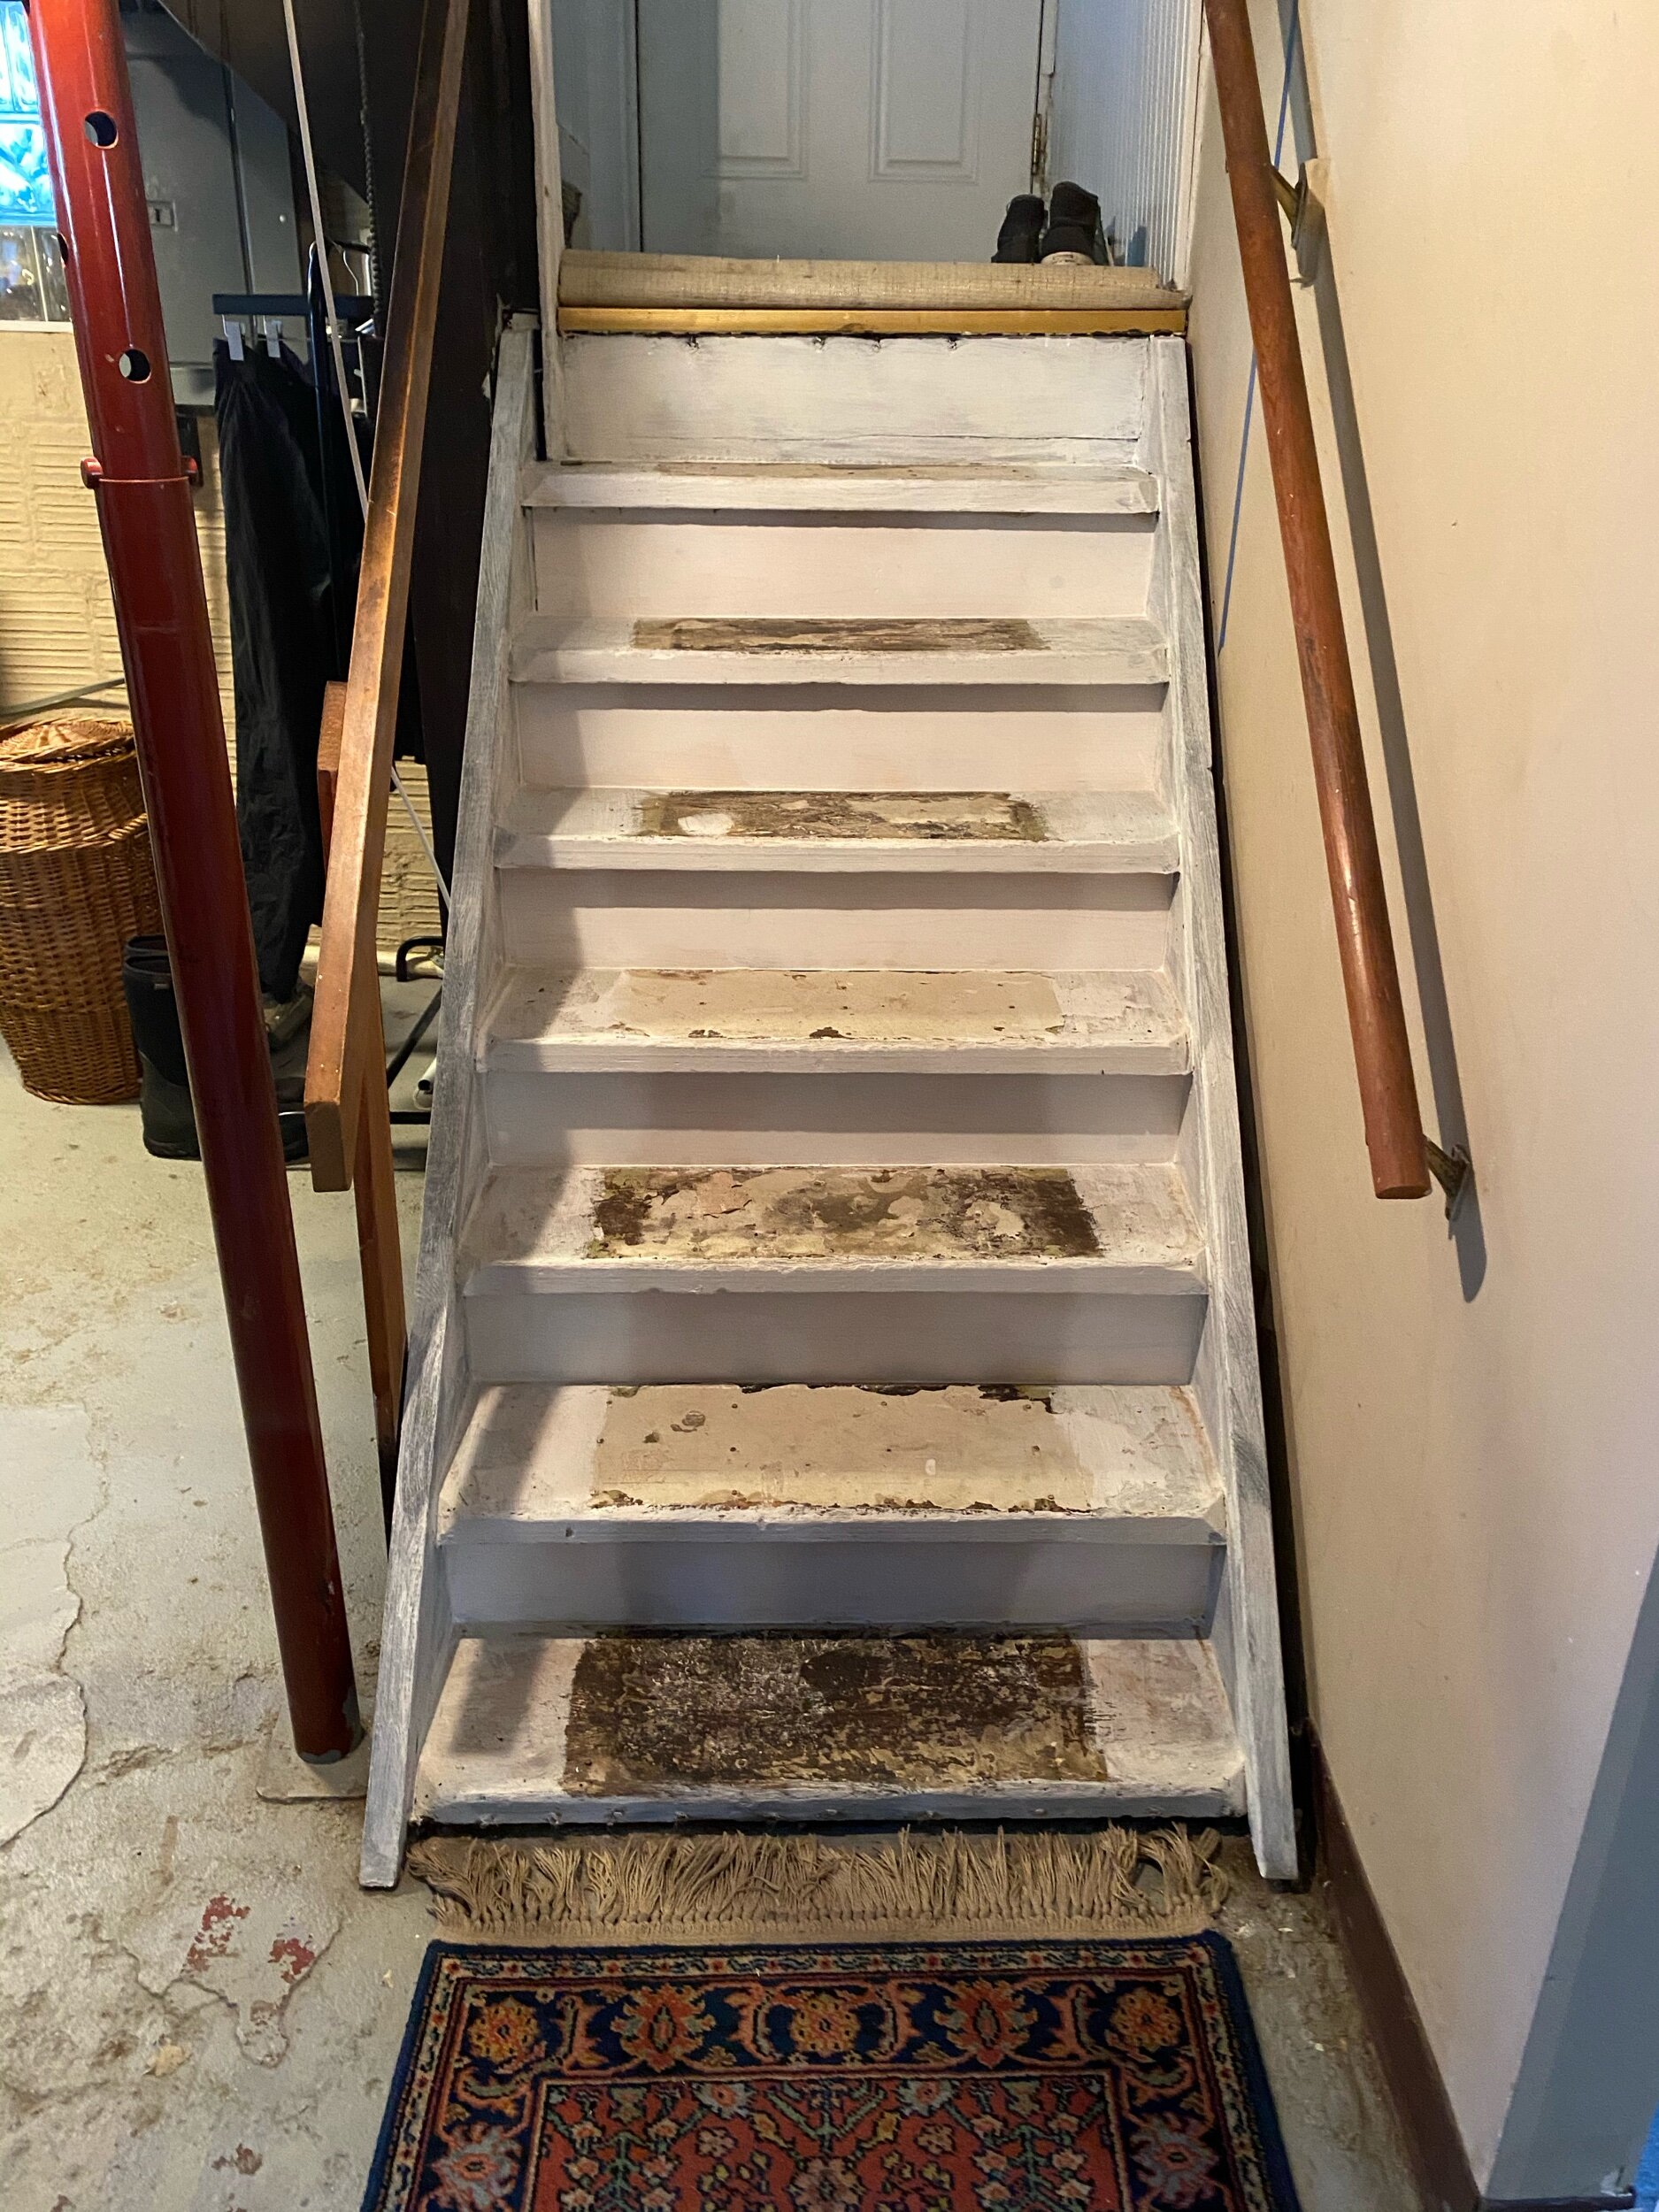
And here’s where the “on a whim” portion of this post’s title comes into play. One unremarkable spring day I decided I simply couldn’t take the carpet on the stairs anymore. And if this was to become a playroom I didn’t want any babies falling through the open risers, right? So in a fit of It Can’t Be That Bad and Well, We’ll Just See How It Goes fervor, I tore into it.
Oof. Ok it was pretty bad. Best case scenario I was hoping I’d peel off the carpet and find some scuffed and chipped painted brown treads. Instead they were covered with pieces of faux hardwood laminate affixed to strips of 1/4” plywood attached with 20 nails per step, plus an expletive-ton of construction adhesive.
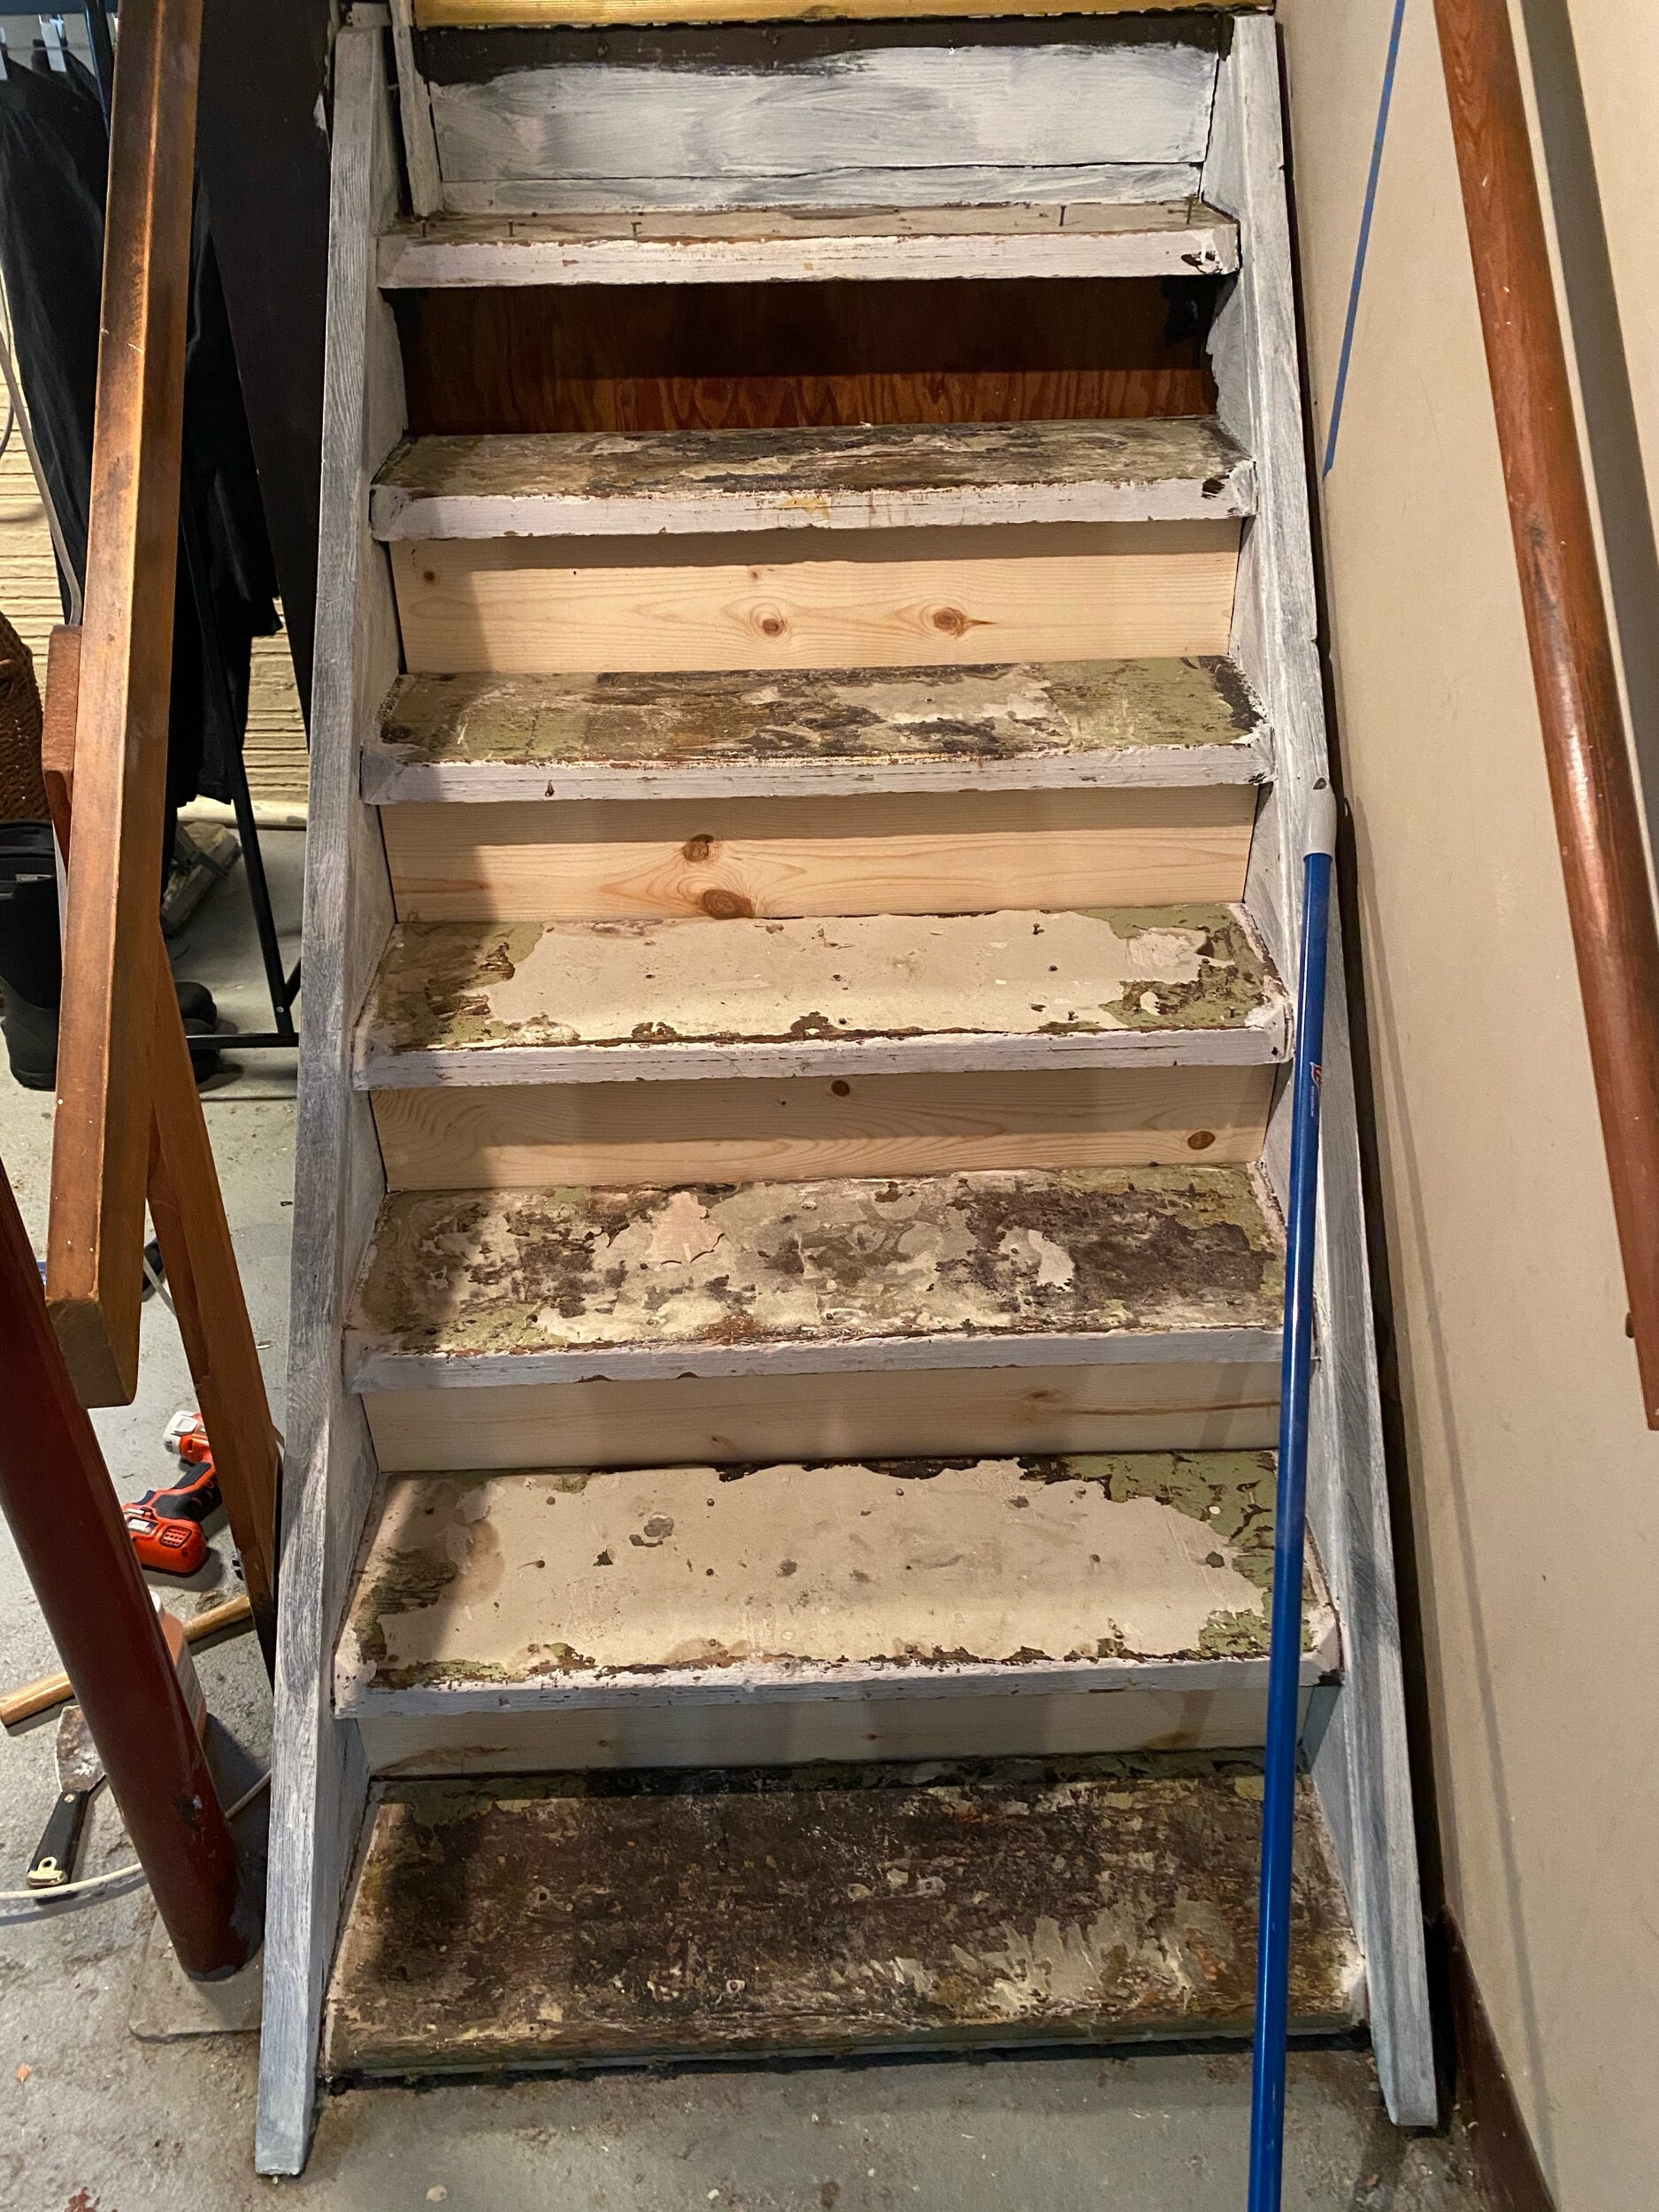
After removing the carpet I made risers by installing 1x8s precut at Lowes. Next I gave most of the stairs a coat of primer, hoping I’d be able to remove the adhesive before moving on. Unfortunately, after leaving Citristrip on overnight it wasn’t budging. I’m not proud of this decision, but I knew if I kept at it I’d lose momentum and never finish so I just primed right over the remaining adhesive. This is not a tutorial if that wasn’t already clear. Then I spackled 1 million nail holes and sanded everything like crazy. (Of course this was only after first attempting to just hammer them down. I am not a pro. I cut corners. This is not a tutorial. Luckily Luke swooped in and graciously removed them all for me.) Lastly, there are multiple applications of caulk holding these stairs together.
Oh hello, stairs that are actually starting to look like actual stairs.
I tried out a couple different color options for the risers, ultimately deciding highlighting them wasn’t the right look for what I was going for.
And here’s where the project creep began. Though the existing yellow on the walls was never my ideal, I didn’t intend to paint it at that moment. But before I could select a color for the stairs I had to figure out that space too. I tried out a couple rich deep blues, landing on Bosporus by Sherwin Williams.
With that decision made I chose Vast Sky, also by Sherwin Williams, for the steps. It’s a sweet pastel that counters the bold blue so well.
This is definitely not a Before/After reveal considering the many, many things still left on the to-do list (extending the bead board, adding a runner, repairing and painting the concrete floors…). But these iPhone snaps of my updated back stairwell have me excited at the progess!


